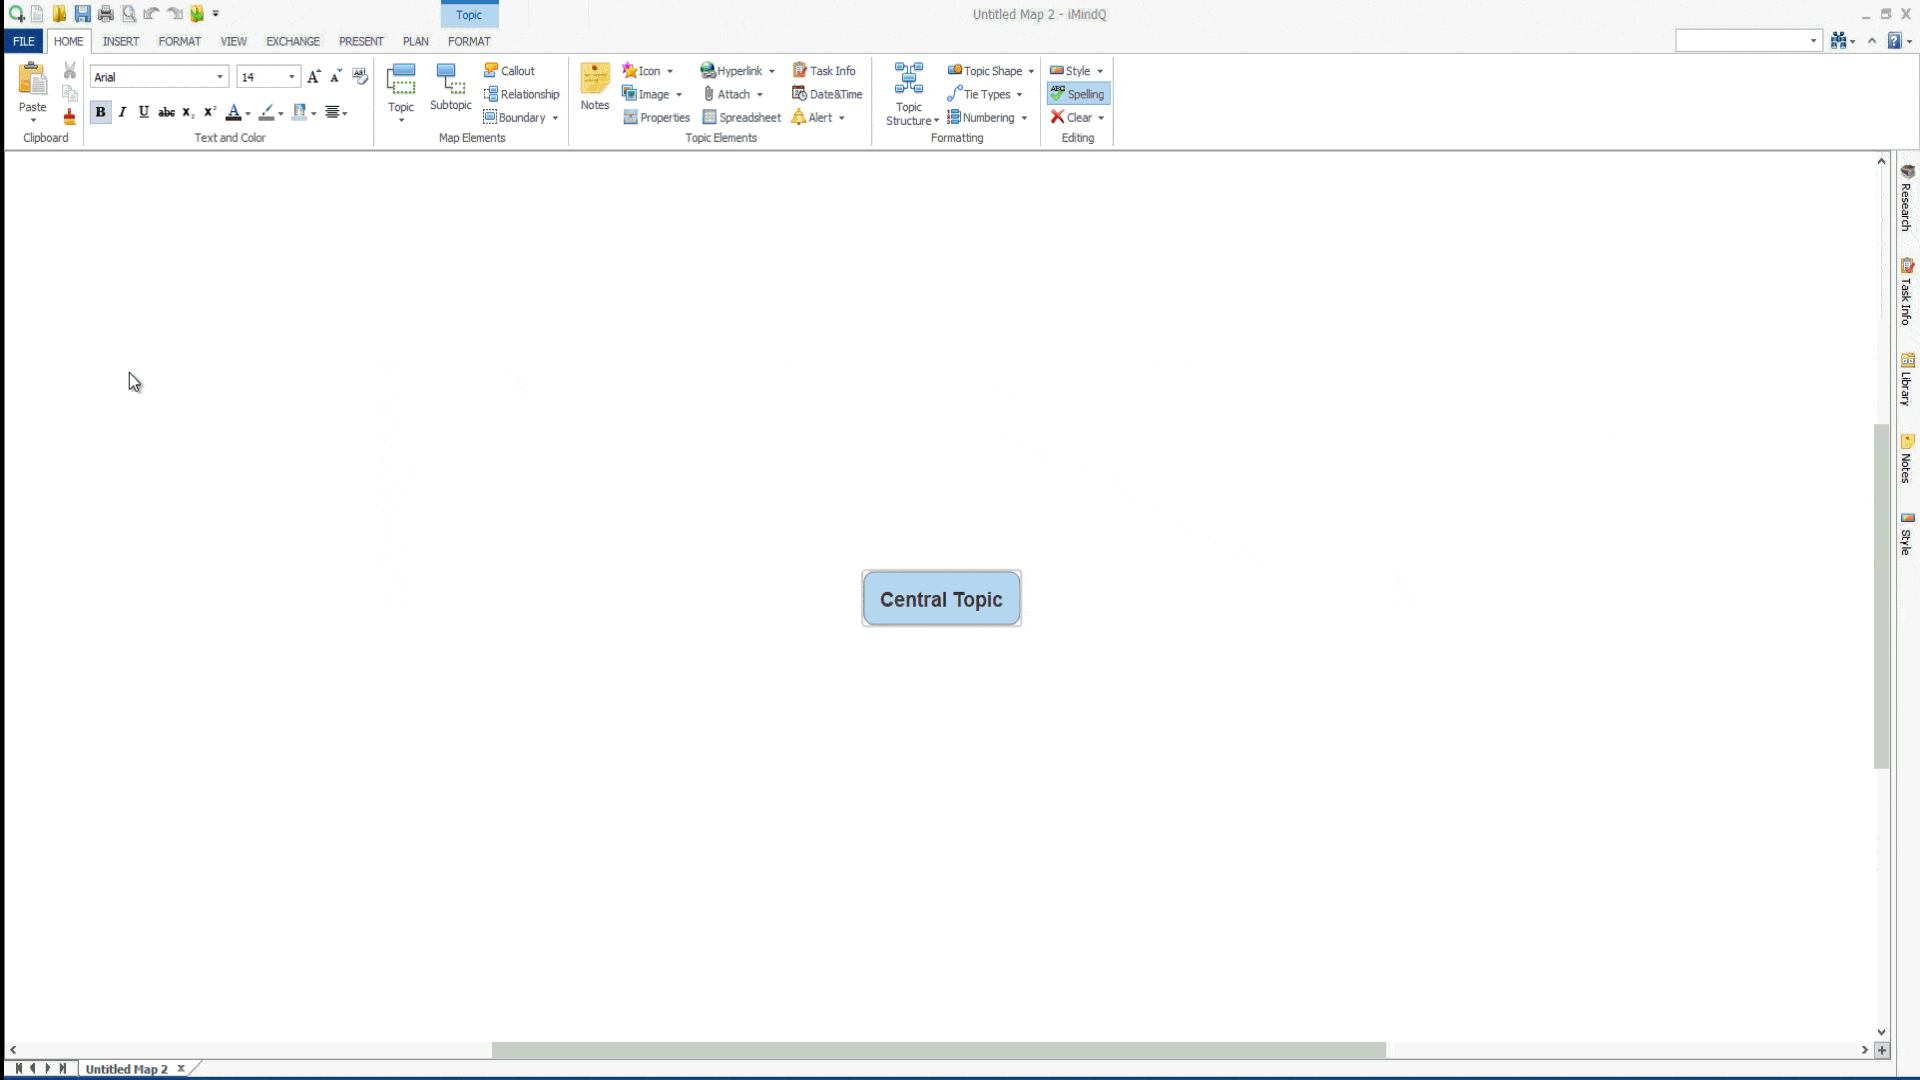
When you start the application you will be welcomed by iMindQ’s working space.
From here, you can note that the software is designed with the Ribbon user interface, where every application functionality is placed in tabs by tabs bar.
Several functionalities that have similar characteristics can form a Group inside the Ribbon.
The main functionalities for working with mind maps in iMindQ® are grouped inside the Ribbons.
From the ribbons section, you can format the text and color, insert map elements, insert topic elements, change the style of the map, select the maps view type, import/export different file formats, organize projects and present your map.
From the Ribbons, you can also access the File Menu. When you click on the File button, the menu will be opened on the left side of the working space. From this menu, you can start your new map, access the templates library and organize the application according to your preferences.
Above the Ribbons, in the upper right corner, the Quick Access toolbar is located. You can customize the look of the toolbar so that different functionalities can be added in order to ease your working process.
On the right side of the working space, several panels with different functionalities are located. From the Research panel, you can search for information online. From the Task Info panel, you can insert parameters to your tasks.
The Library panel contains icons, images, shapes, patterns and map parts that can be added to your maps. From the Notes panel, you can customize the look of the notes inside your topics.
The Styles panel enables you to apply different styles to your map. Furthermore, from this panel, you can customize the Topic Styles, Central Topic Styles, Floating Topic Styles, Callout Topic Styles, Relationships and Boundary Styles. Every functionality from these panels is explained in depth in the remaining Help Articles.
In addition to these menus, several buttons that should ease your mind mapping experience are placed in the working space. In the upper left corner of the application, the iMindQ® Online Help button is located. By clicking on this button, the system will redirect you to the interactive help, where you can browse through all of the categories and features of the application.
Next to the Online Help, the Find functionality can be accessed. From here, you can search the text in the maps or use the advanced search function for more search options. One unique menu in iMindQ is the Q-menu, which is available only in the map space. You can find the Q-menu in the upper right or left corner of a topic, once you hover over the topic with your mouse. This menu is intended to provide the user ability to add a topic, a relationship of format them on the fly while building its map. From the bottom left corner, you can manage the zoom of the map space.
In addition to this, you can select to maximize the working area on the entire screen, fit or center the map. The multiple map files that will be opened in iMindQ®, will be listed as tabs in the bottom of the application.
You can navigate through different maps just by clicking on the tab that represents the map that you want to work on.