No map is completed just with map elements. If you want to get the most of mind mapping and iMindQ, you can further customize the look of your maps by inserting topic elements. Every topic element in iMindQ enables you to add or capture information that will help you better visualize and present your thoughts or ideas. Additionally, with the topic elements, you can personalize the look of your maps and unleash your creativity.
1. Insert Notes
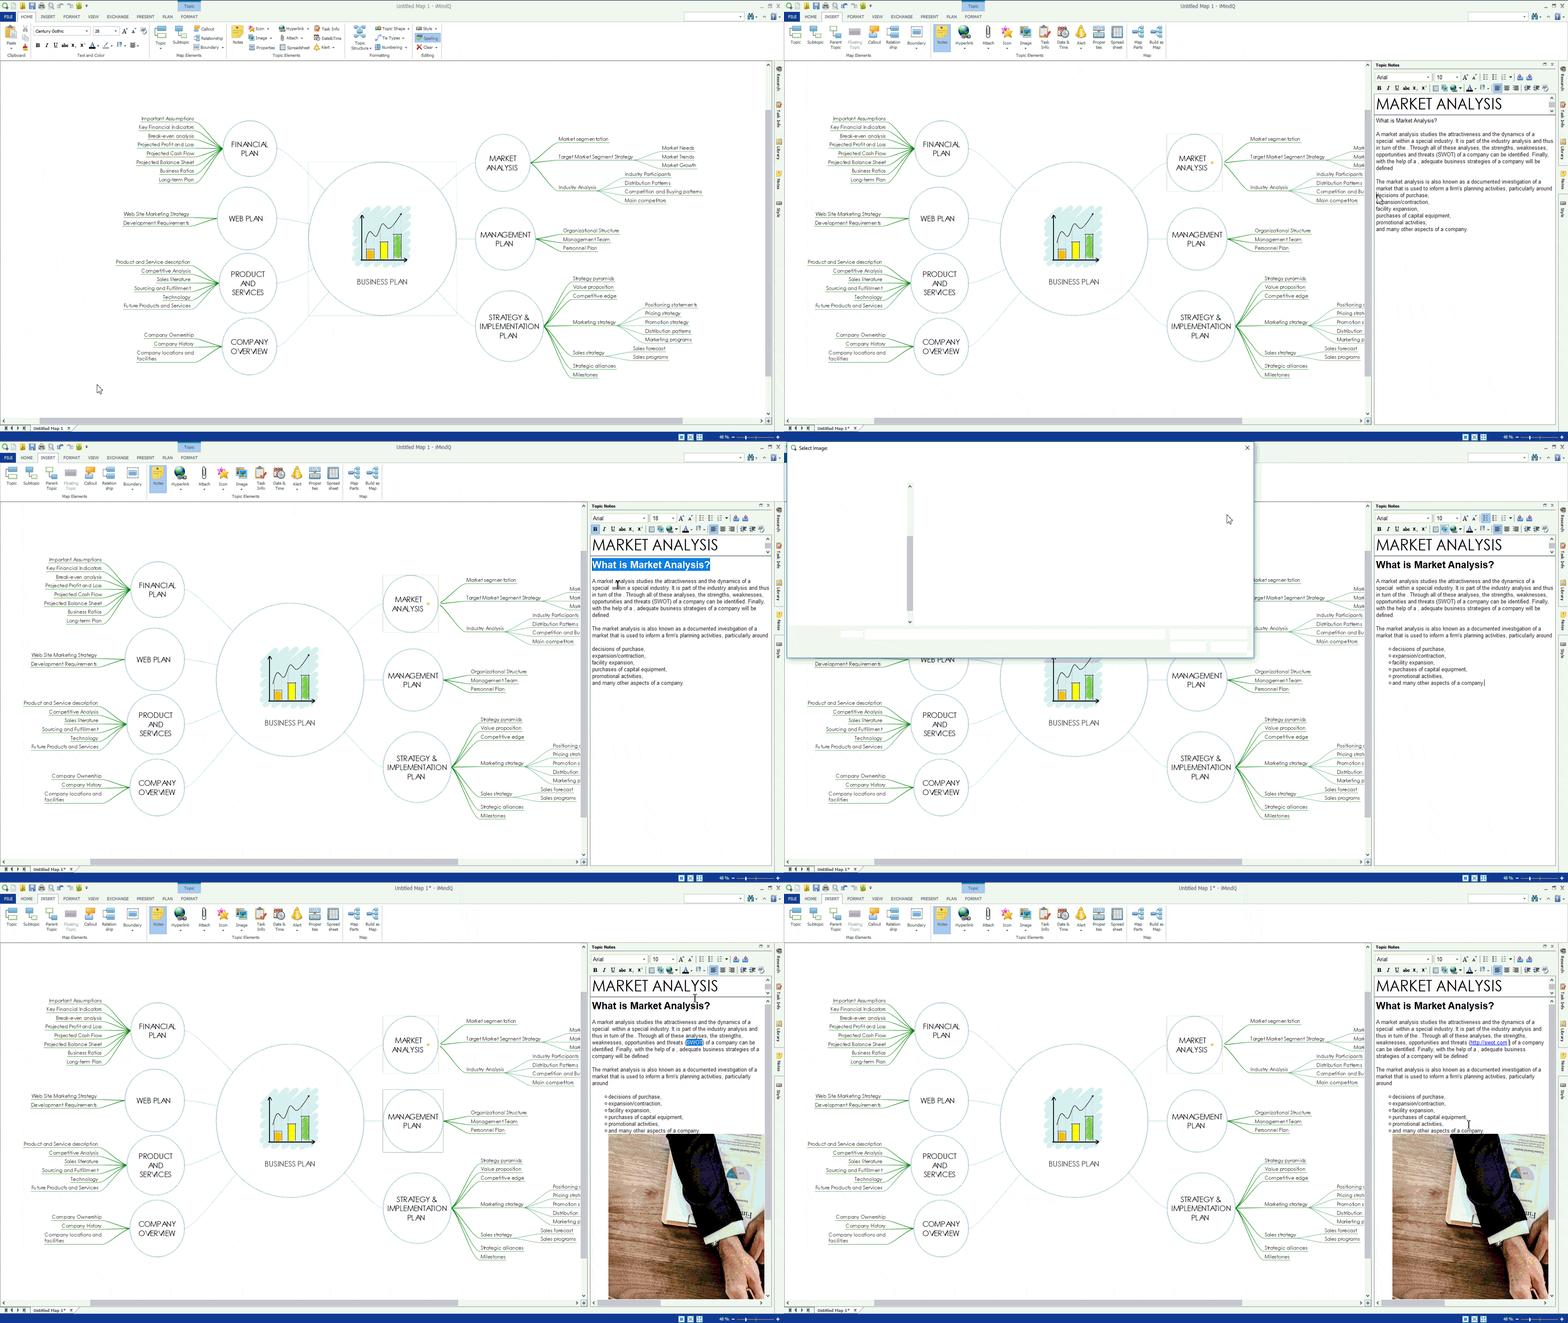
The first topic element that we recommend to add to your topic is the Note. Notes can be quite helpful if you have additional information that should be written about the topic of your map. To insert a note, perform the following action: Select the topic in which you want to insert the note. From the Insert Ribbion, select the Notes button. Notes can be accessed as well from the Notes Panel, located in the right side of the working space. There is no limit to the amount of content that you can write inside the Notes. From the Notes panel, you can select the appropriate font and font size, text and highlight color, align and outline the text, etc. In addition, you can insert images to support the notes content and table sheets when you want the information to be structured and presented in tabular form.
2. Insert Hyperlink
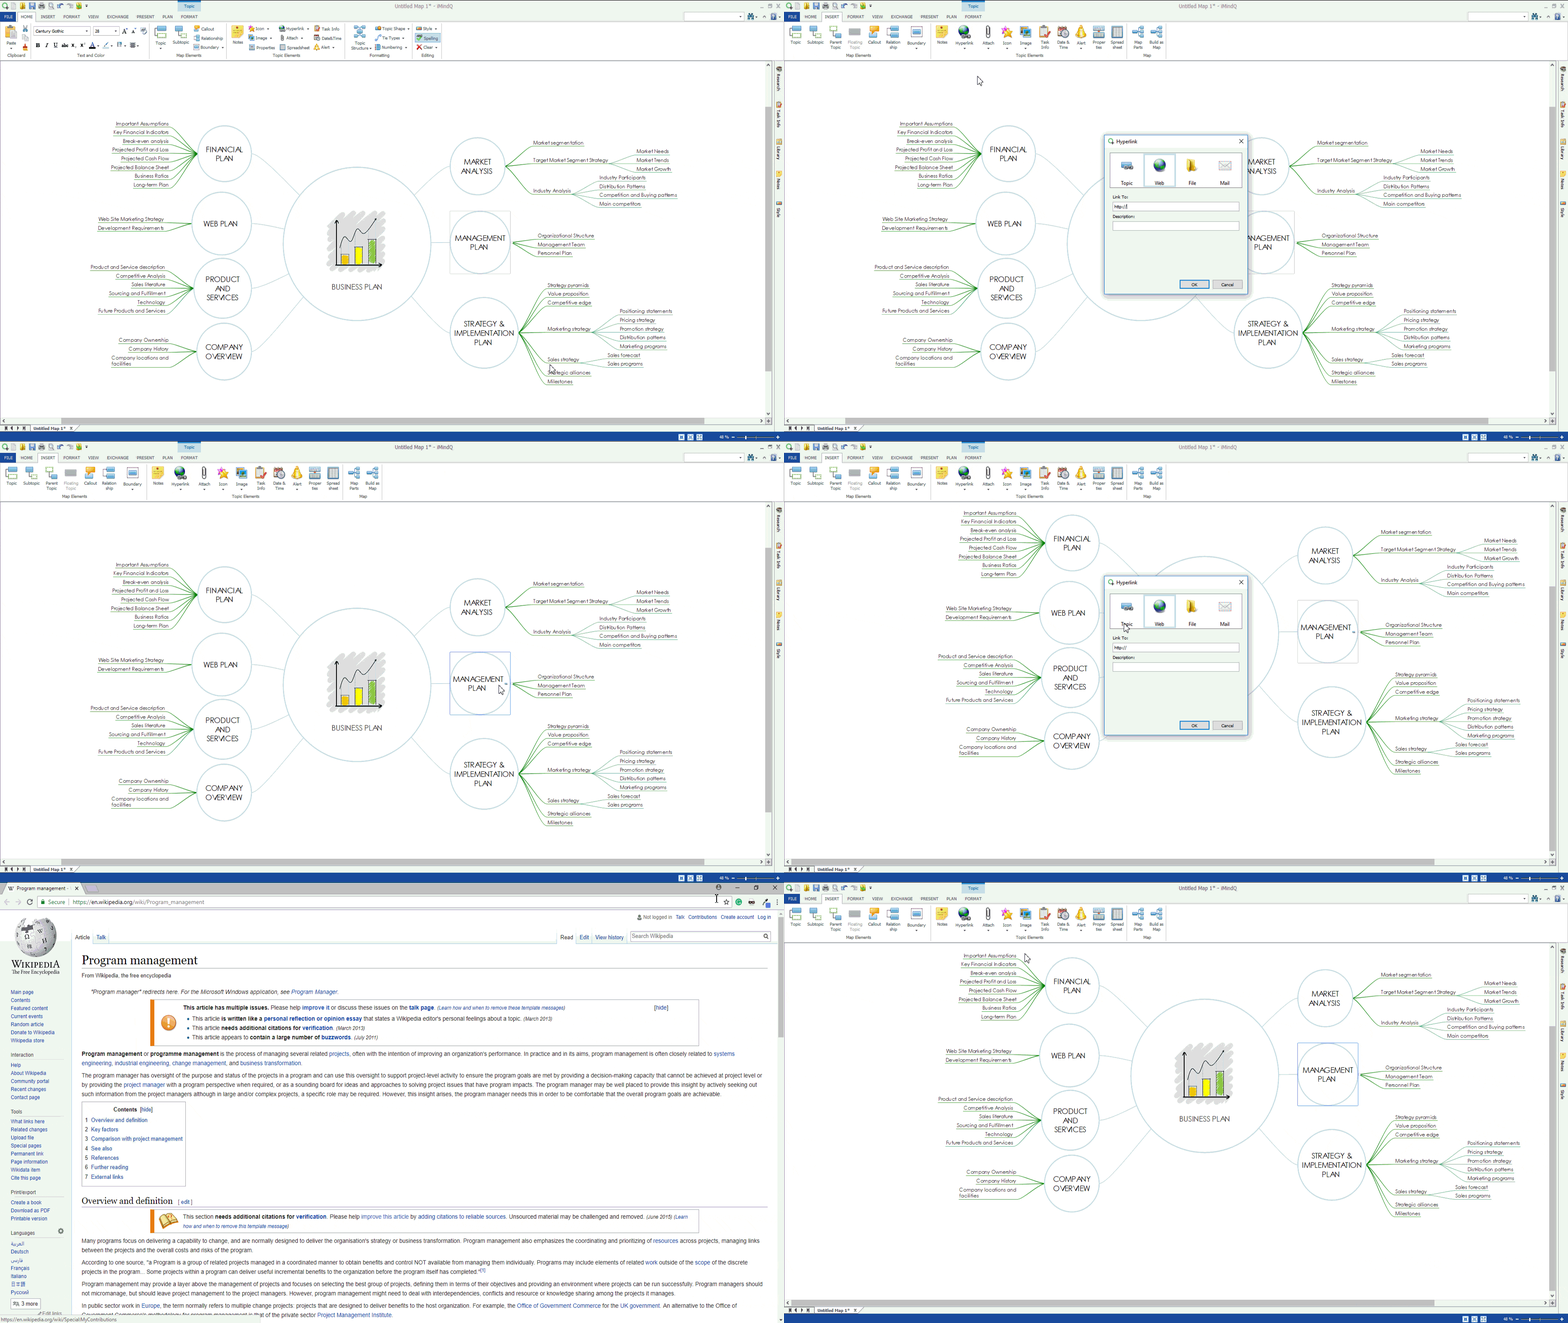
From the Insert ribbon, from the Topic Elements Group, you can add Hyperlinks by selecting the Hyperlink button or by pressing the CTRL+K keyboard buttons. There are several types of Hyperlinks that you can insert into the topics: Hyperlink that directs you to a topic Hyperlink that directs you to a web link Hyperlink that directs you to a file Hyperlink that directs you to the mail Once you have added the type of hyperlink, a small icon will appear on the right side of the topic. When you click on the icon, the system will direct you to the location of the topic, web link or file that was added.
3. Insert Attachments
With the help of the Insert Ribbon you can add attachments to your maps. Just select the topic in which you wish to insert a file, and from the Insert Ribbon, click on the Attach button, or press CTRL+ SHIFT+ H. Once you have performed this action, you need to select the file that should be inserted. This file will be shown as an icon on the right side of the topic. By clicking on this icon, the attachment will be automatically opened.
4. Insert Icons, Images, Shapes, Patterns and Map Parts
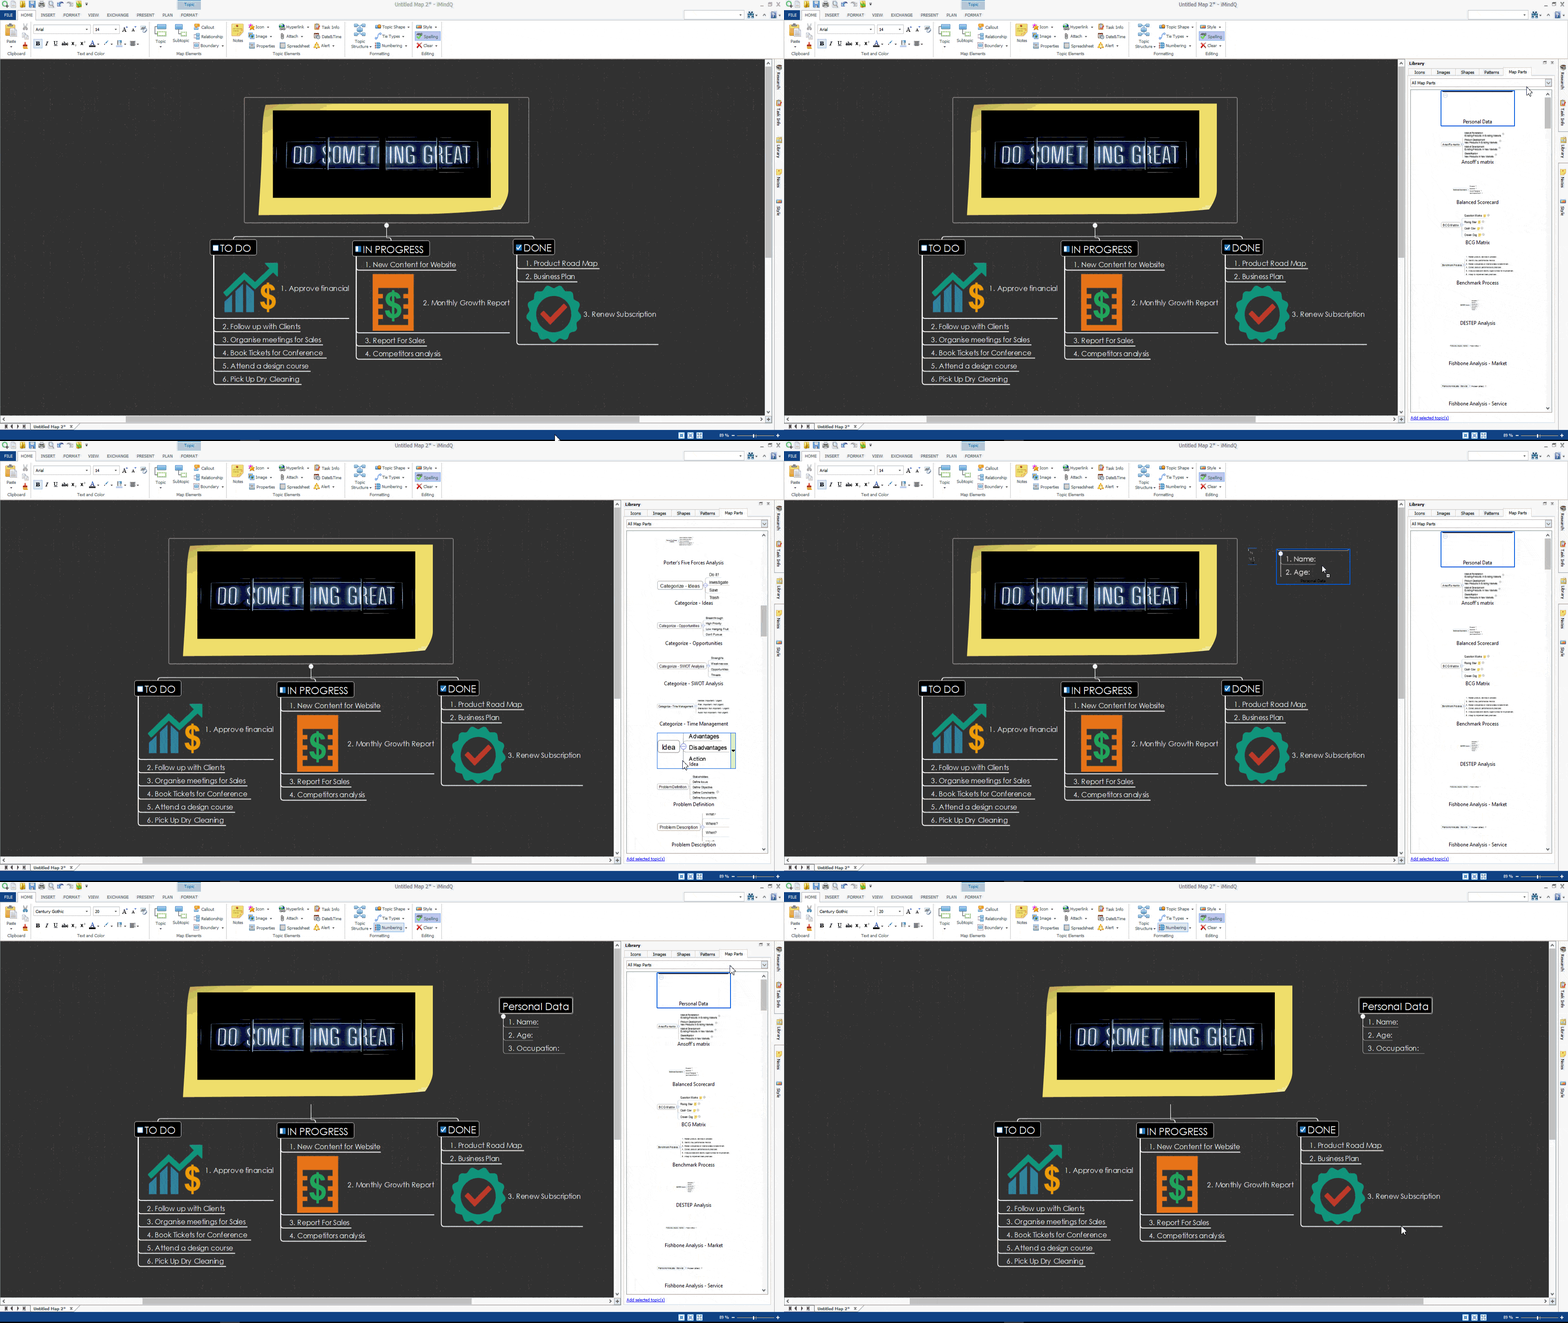
The maps in iMindQ can be further customized from the Library panel, located in the right side of the working space.
From this panel, you can insert or upload icons, images or map parts to the topic, and change the shape of the topic.
![]()
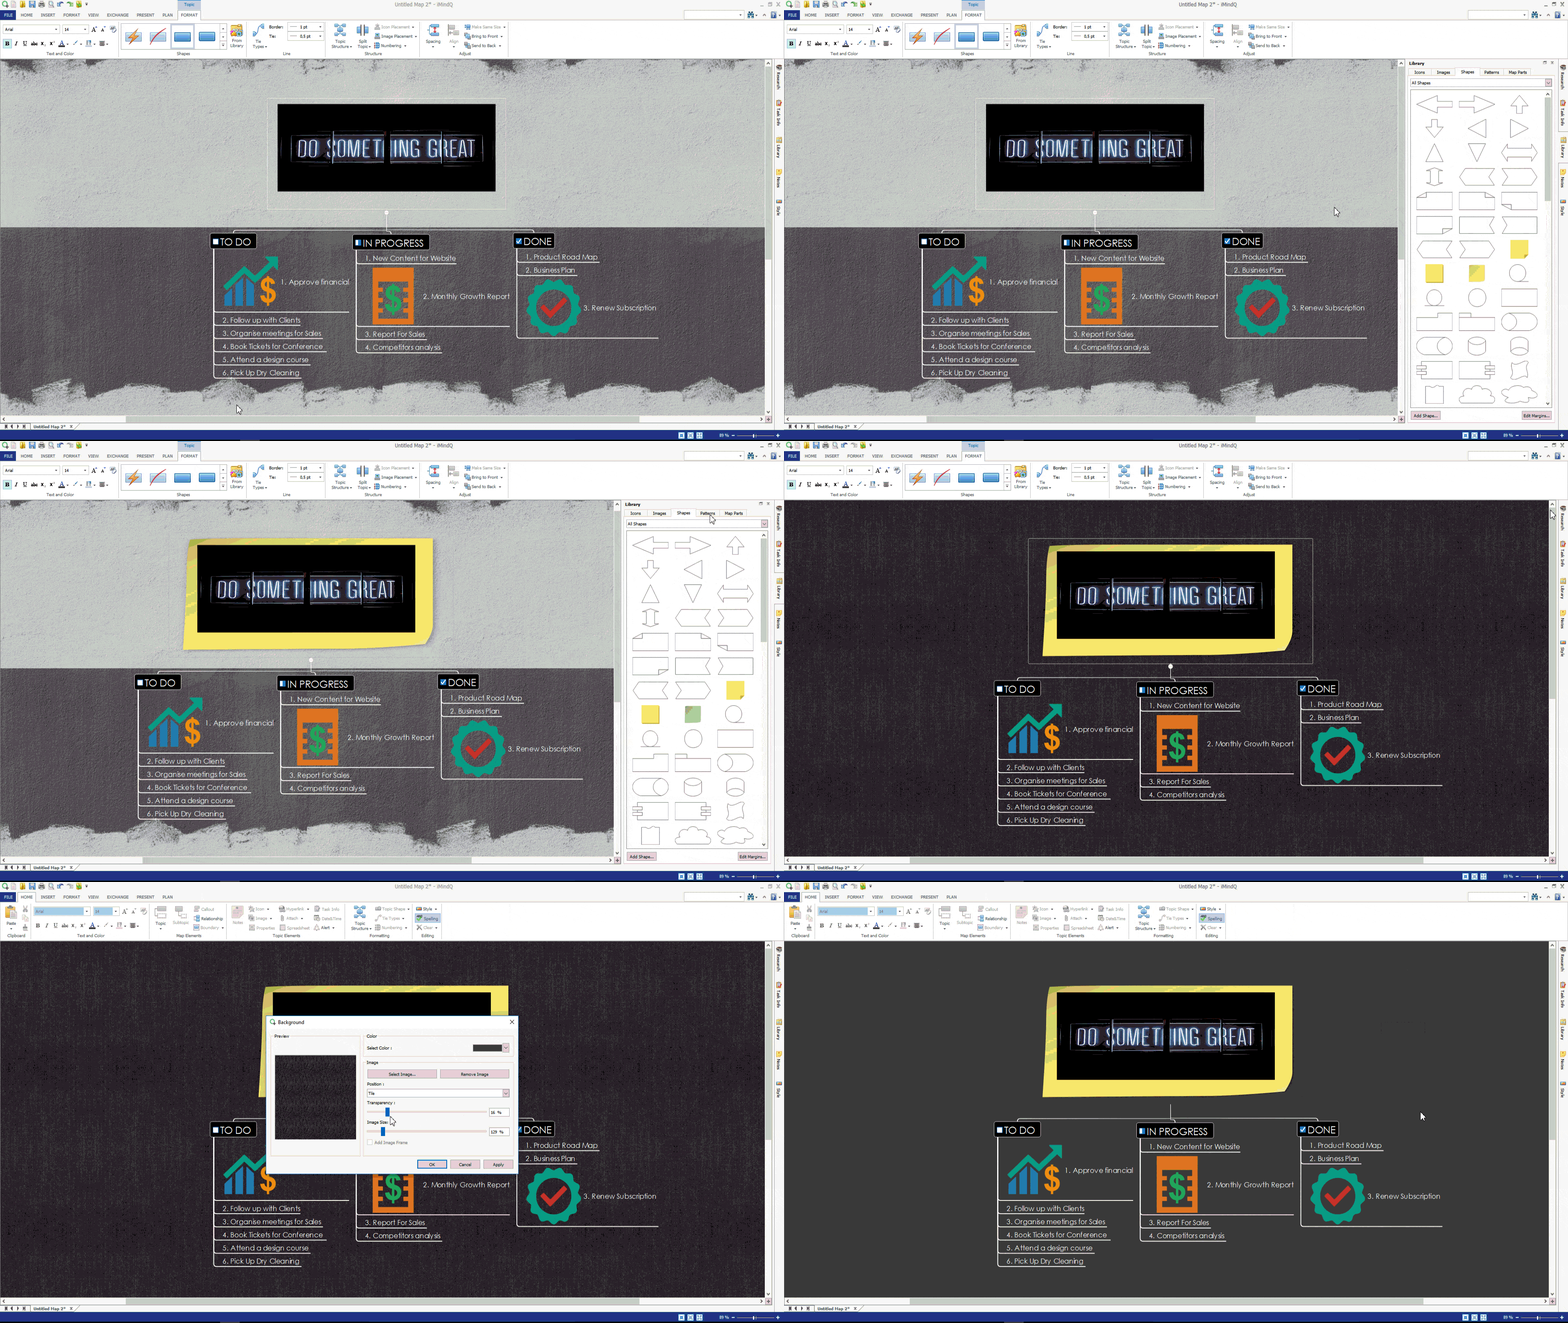
This panel enables you to modify the background of the working space with the help of the Patterns. Click on the pattern that you are most drawn and it will be applied to the background of the working space. The look of the pattern can be further customized, just by right clicking on the working space. This will open the Background dialog box, where you can change the color, position and transparency or the background. From this dialog, you can upload images as background of the working space.
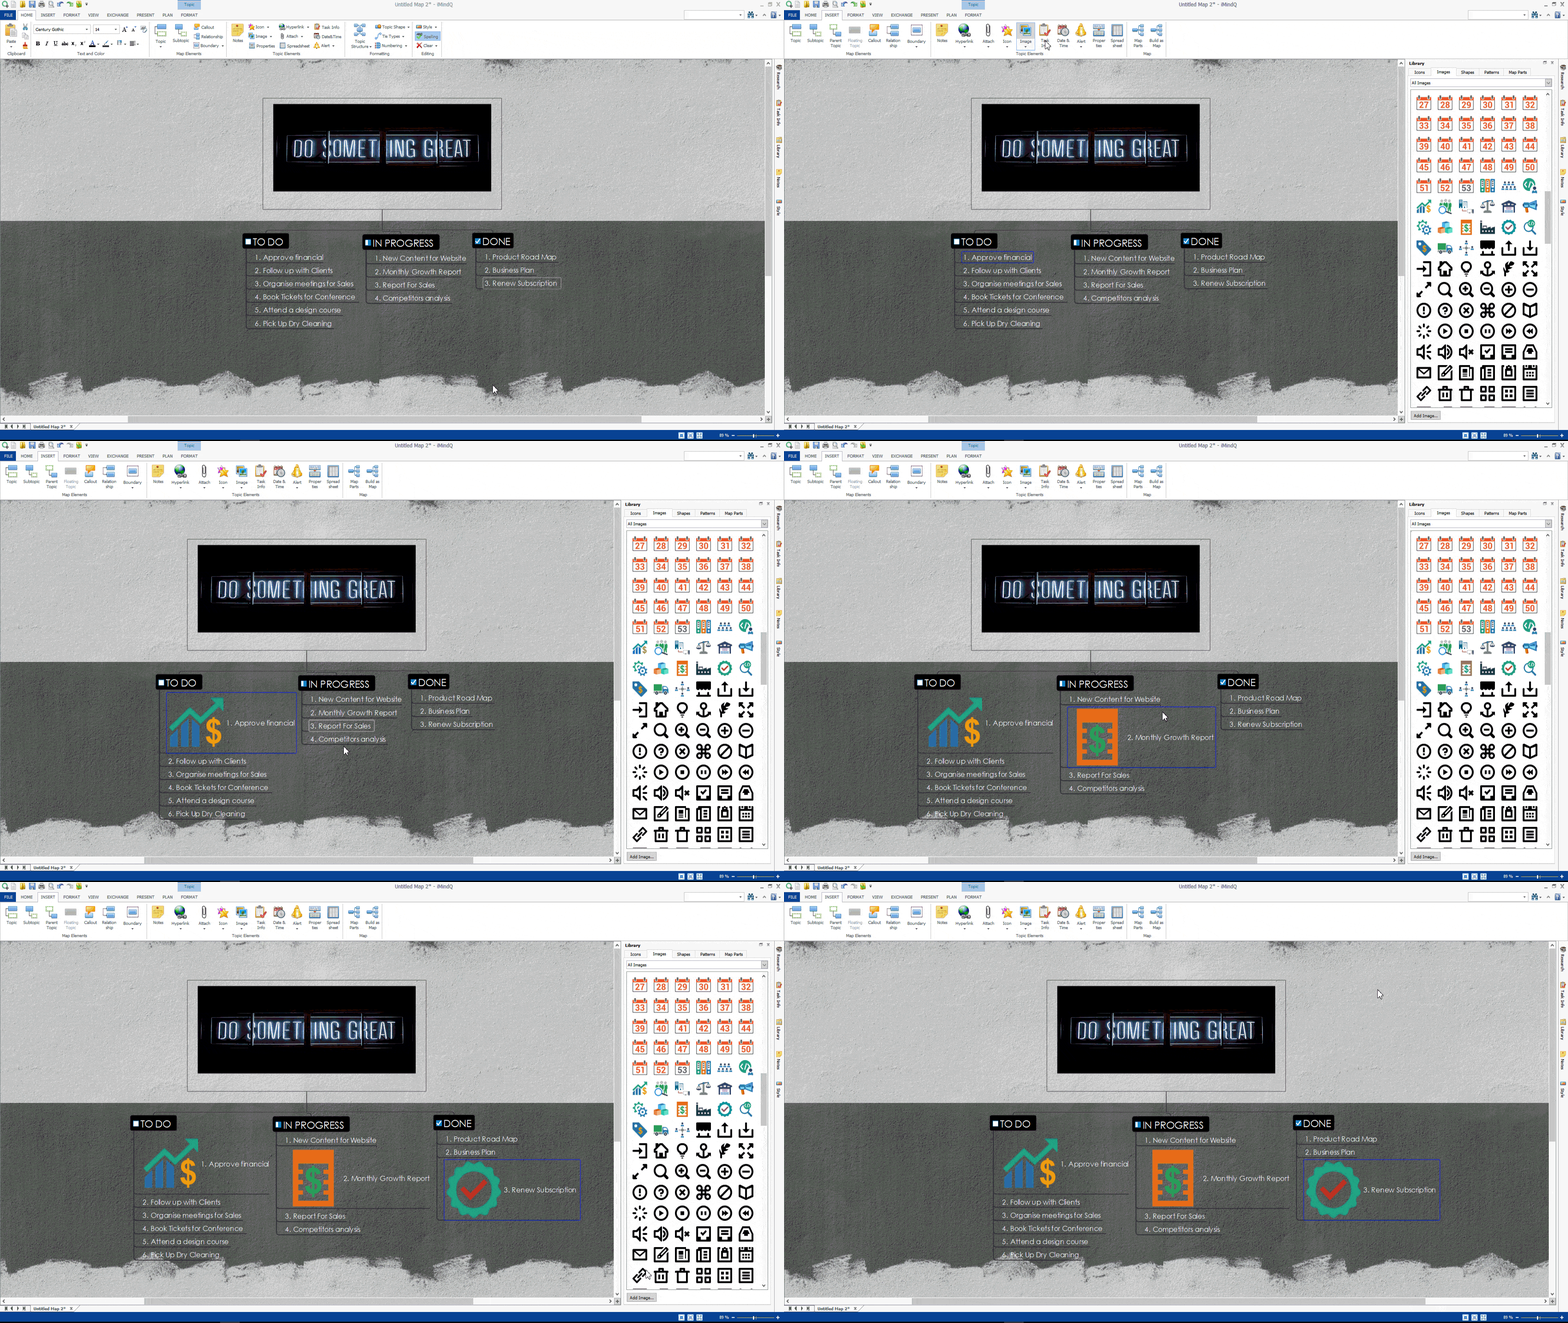
And here is how you insert mind map parts on iMindQ.
Finally, here is another video showing how to insert shape and background in iMindQ.
5. Add Task Info
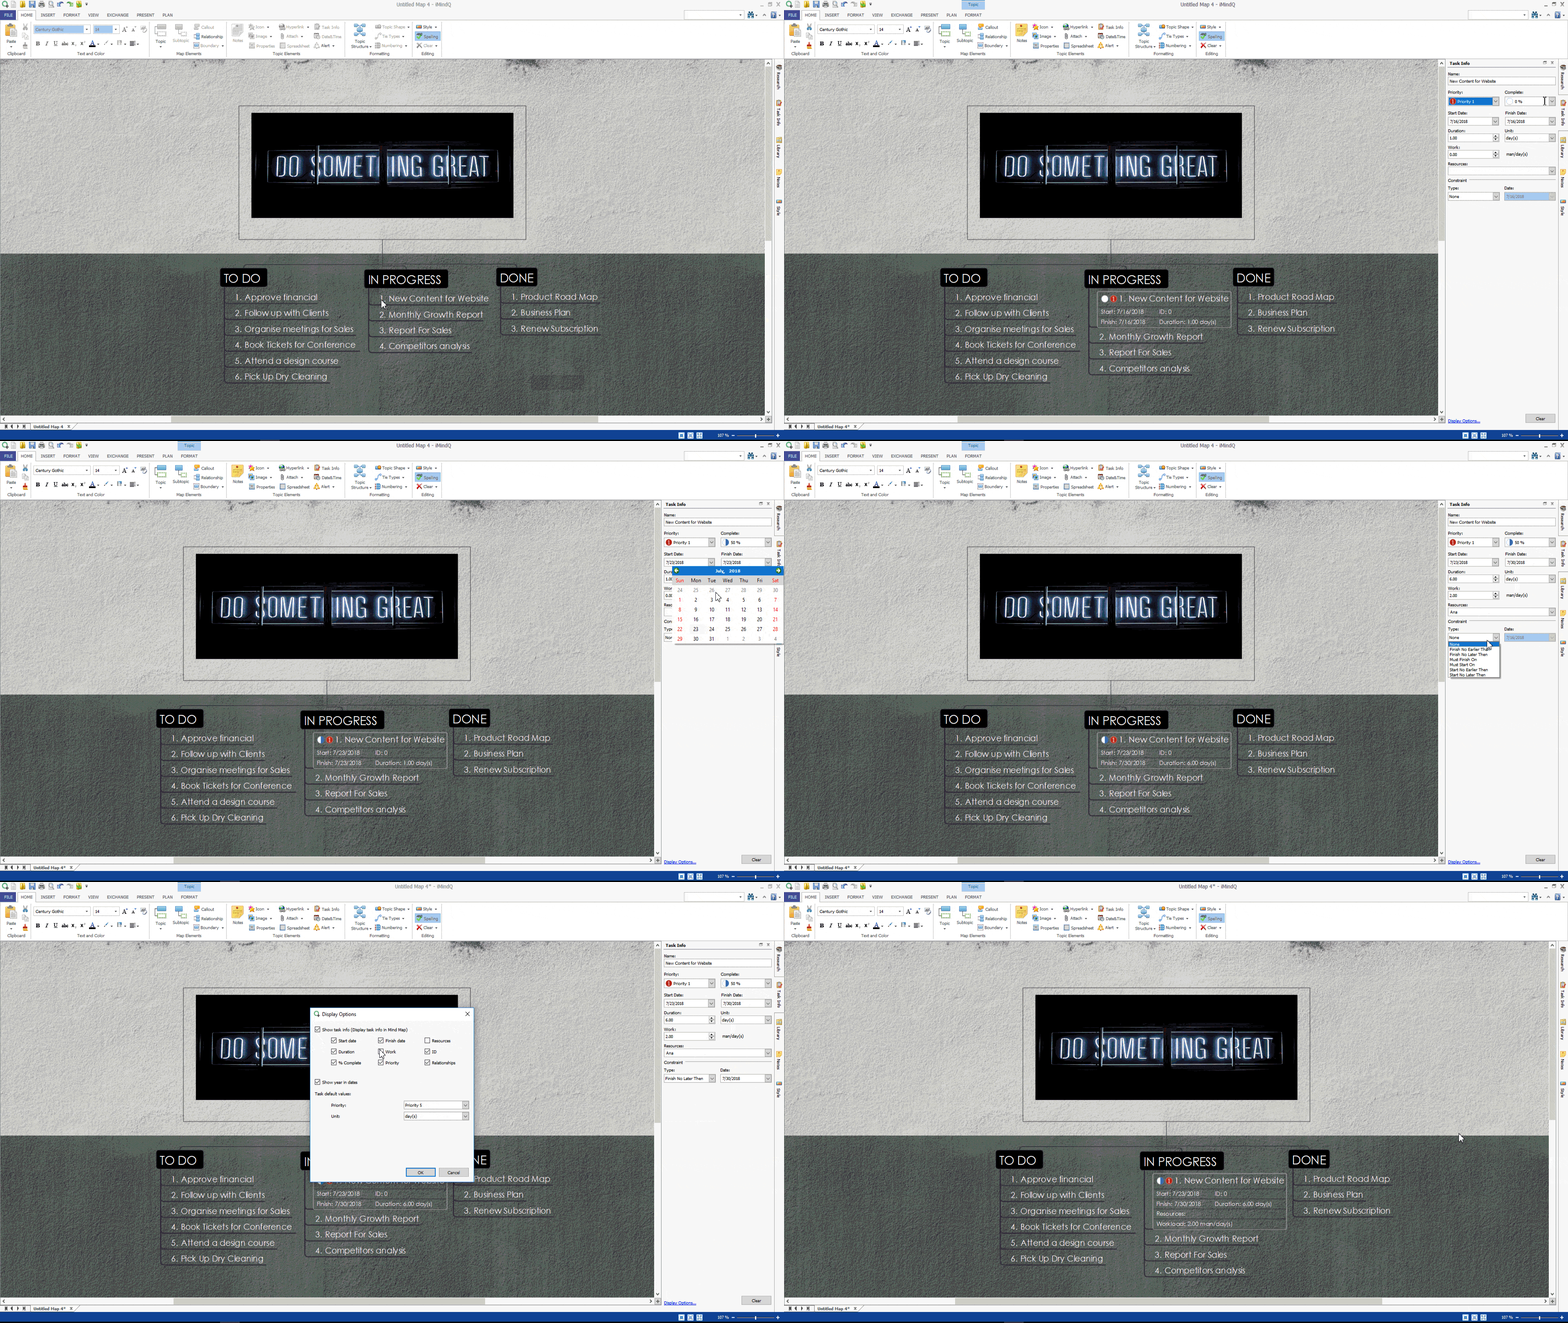
The topics inserted in iMindQ can be converted to tasks. Every task contains info such as Task Name, Priority, % Complete, Start Date, Finish Date, Duration, Units, Work. Resources and Constraints. You can add these parameters from the Insert ribbon, from the Task Info button. This will open the right Task Info Panel from which you can edit and enter information according to your preferences.
6.Add Date & Time
Info about the date and the time can be added to the topic’s title from the Date & Time button, located in the Insert ribbon. When you select this button, a Date and Time dialog box will open, where you can select the date and date display format that should be inserted in the topic.
7.Insert Alerts
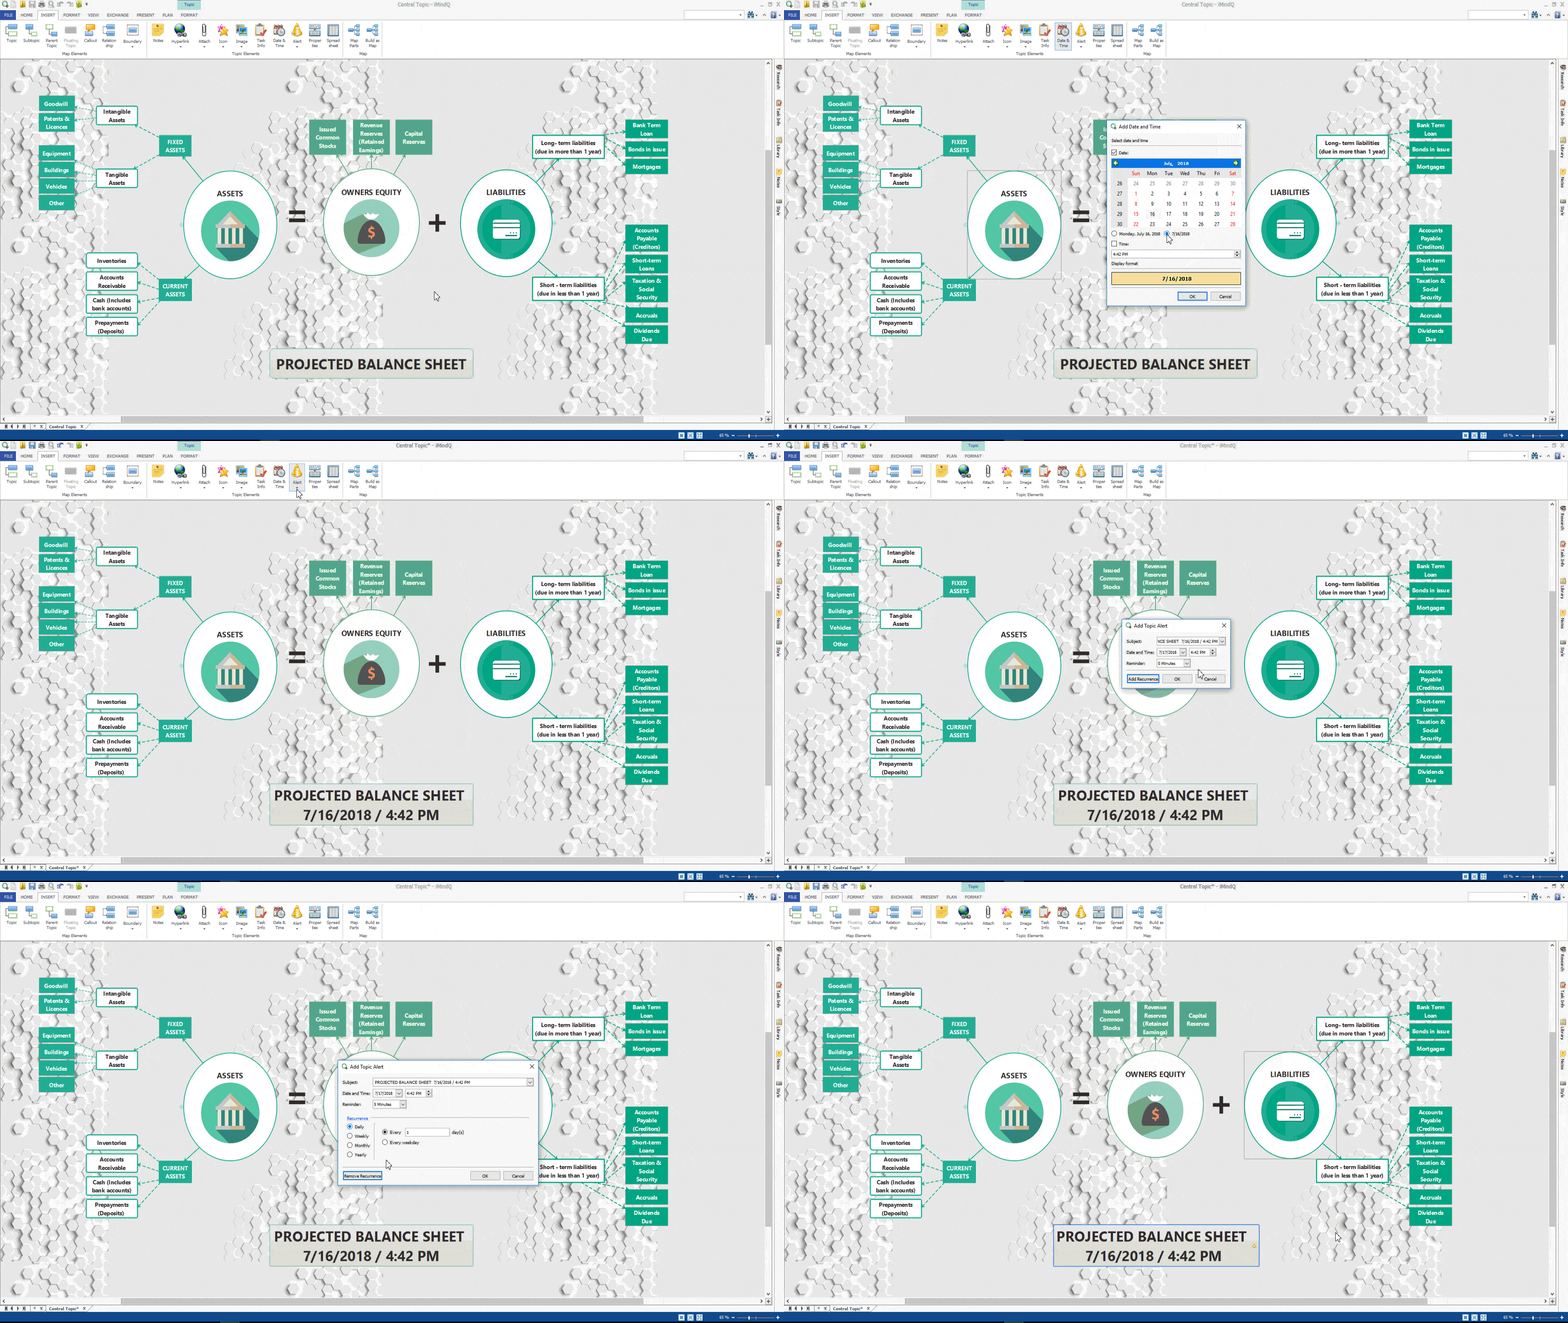
Alerts can be quite helpful whenever you have something that needs to be done in the future. By adding reminders to your topics, you can rest assured that every assignment will be carried out, and nothing will be left behind. You can insert alerts , same as all the other topic elements, from the Insert ribbon, by clicking on the Alerts button. This will open the Topic Alerts dialog box from which you can customize the reminders. Once you have added an Alert, an icon will appear on the right side of the topic. Note that alerts can be added only to maps that have been saved.
8.Insert Properties
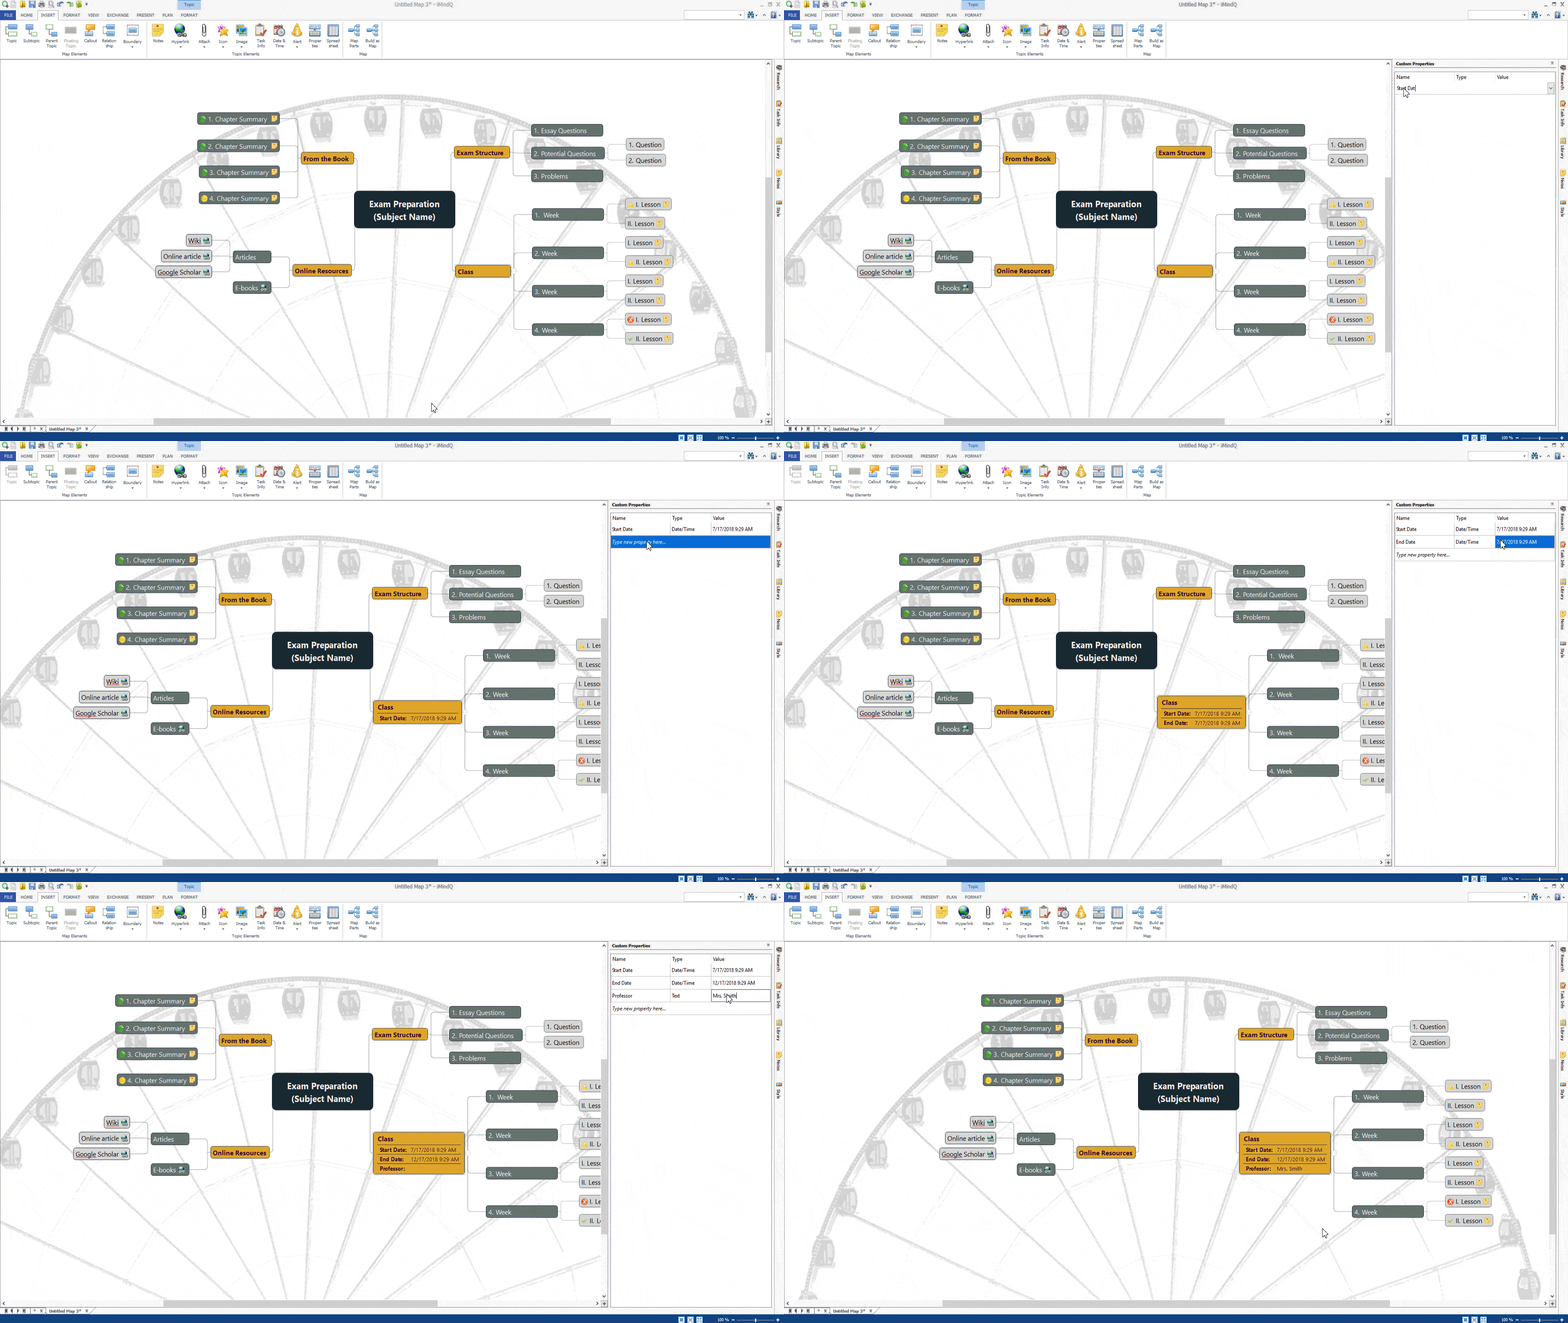
If you want to add and describe different properties of the content in the topic, you can do that by adding custom properties. These custom properties will describe different attributes of the content in the topic. To insert custom properties in the topic, perform the following steps: Select a Topic from the map Click on the Insert ribbon Click on the Properties button. This will open the Custom Properties panel from which you can insert the properties. Here you need to enter the name of the property, select the type (Boolean, Number, Text, Date, Time or Date/Time) and insert the value.
9. Insert Spreadsheet
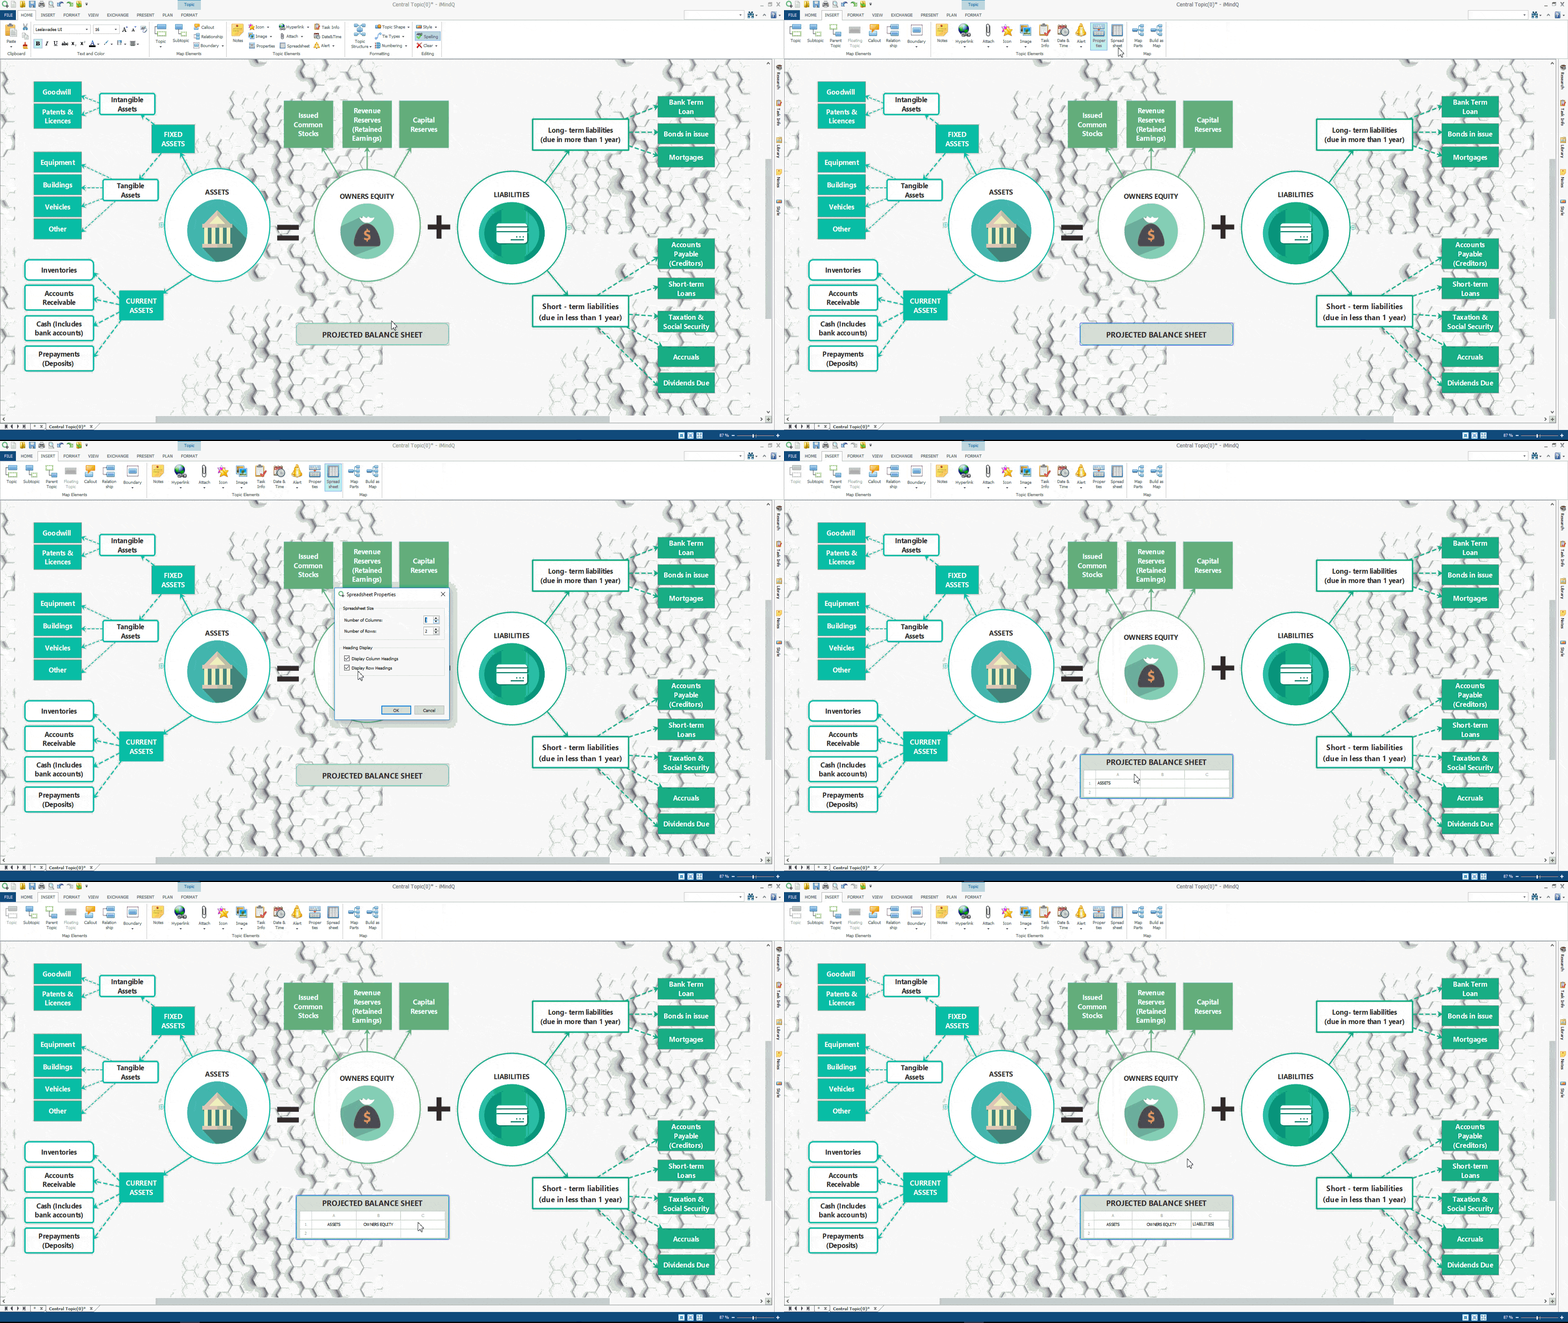
Now you can insert spreadsheets inside your topics, from the Spreadsheet button, located in the Insert Ribbon. This will open the Spreadsheet dialog box, from which you can choose the number of rows and columns of the spreadsheet and customize the display of the heading. Once you have gone through all of the topics elements, it is time to make the most of the available features, and personalize the look of your map.
