Once you have created your first task it is time to get familiar with a different viewing format, commonly used for managing projects, the Gantt Chart view.
The Plan ribbon consists of additional features that ease the work with tasks and projects. From this ribbon, you can select the Gantt Chart view.
The same view can be accessed from the View Ribbon, from the Views Group. This action will divide the working space, thus showing the Gantt Chart and the Map, both in the working space.
Gantt chart view consists of two parts: Gantt Table that is located on the left side of the application and Gantt Chart located on the right side.
Gantt Table (or Gantt Sheet) consists of columns that contain information for the tasks. Depending on which table you are working on, different columns will be presented in the Gantt Sheet.
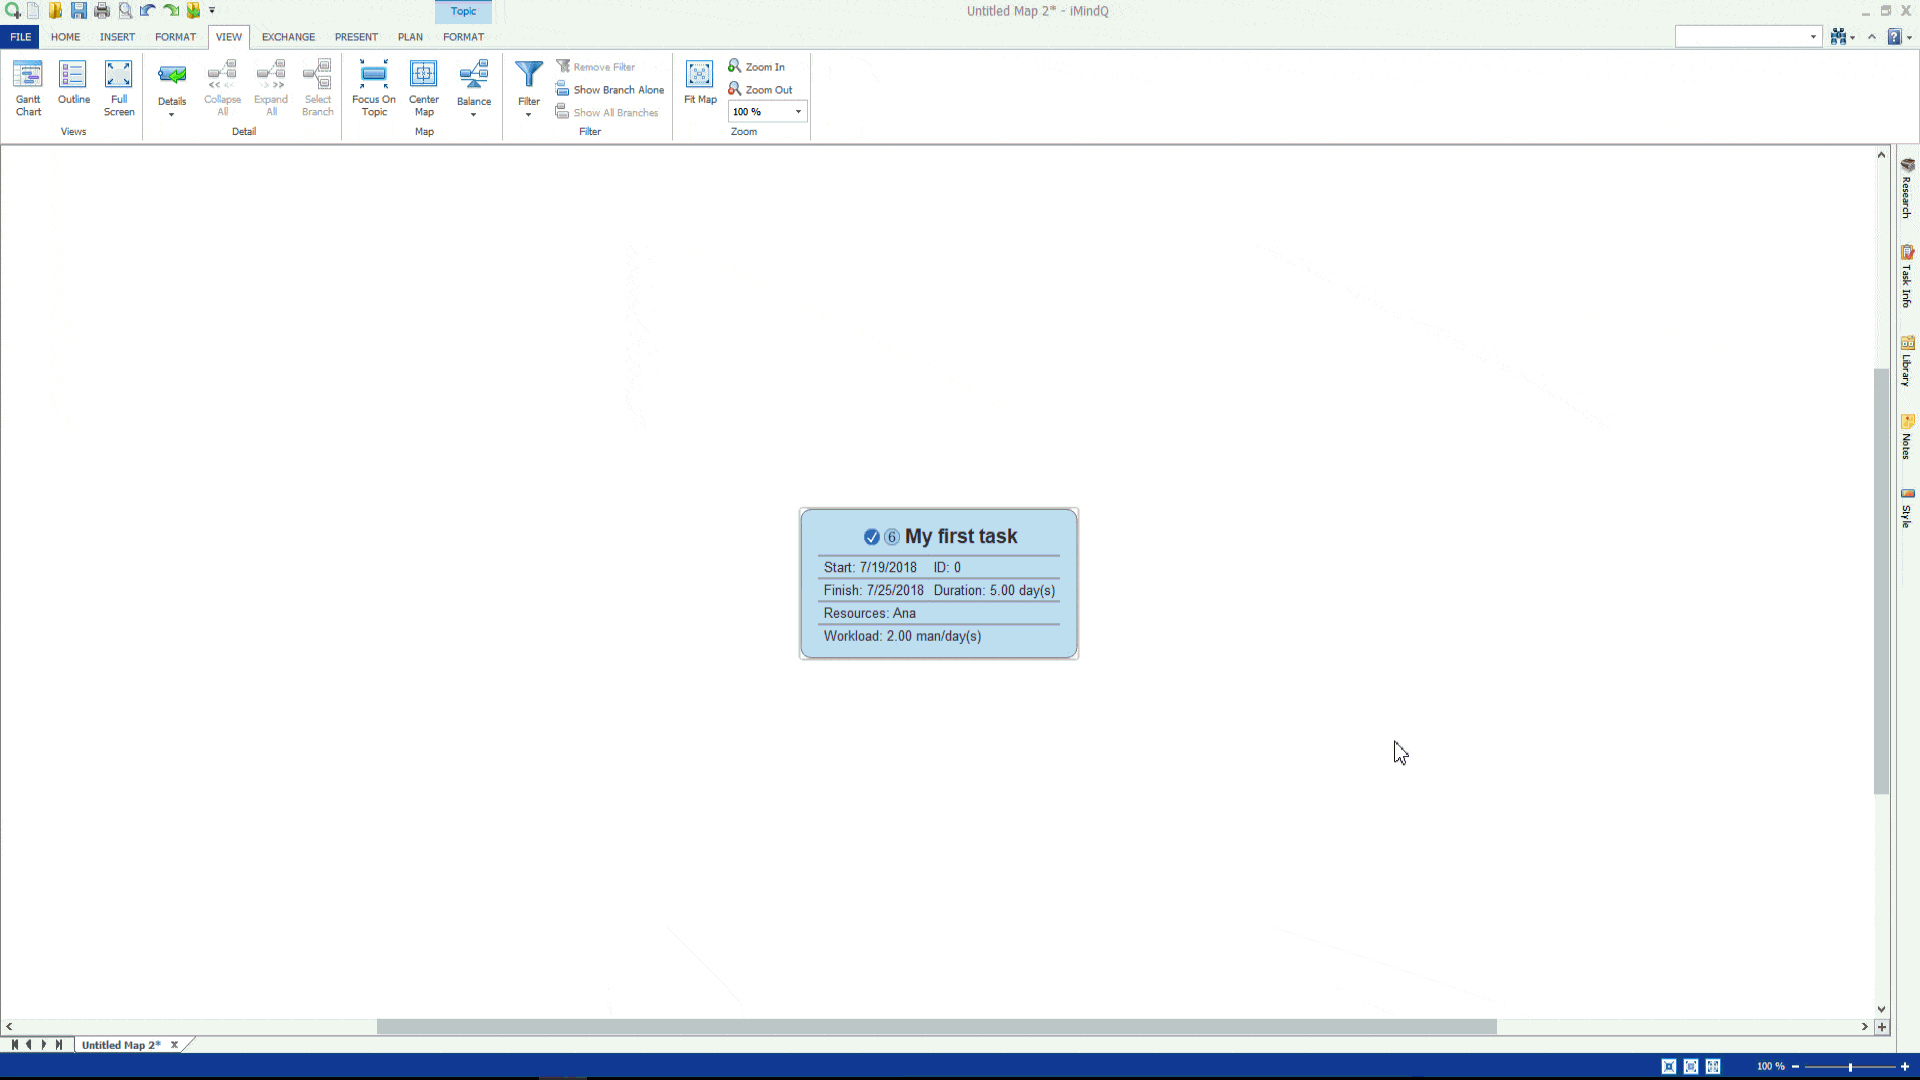
A default table for the Gantt chart is the Entry table. Task’s attributes can be entered in the Gantt Sheet by typing the appropriate information in the cells, selecting from the drop-down list in the cell, or by using the Task Info window.
Task information can be inserted as well from the Gantt Chart table, just by drawing custom bars. By double-clicking on the bars in the Gantt Chart table, the Task Information dialog box will open in which you can add additional information about a certain task.
You can customize the look of the Gantt further by selecting the Color Gantt Chart button from the planned ribbon. This action will automatically color the bars in the chart table accordingly to the color of the tasks in the map space.